A Creator Content Workflow That Saves Time: Planning, Batching, and Automation
Build a repeatable creator workflow with content batching, approval gates, asset organization, and practical automation around your publishing process.
Affiliate disclosure: Some links in this article are affiliate links. OFToolbox may receive a commission when you sign up through them. This is an operational guide, not a claim that a particular tool will increase your income. See our affiliate disclosure.
A creator’s week can disappear into small jobs. You rename a file, look for a caption, answer a scheduling question, export another crop, and check whether a post was approved. None of those tasks seems especially difficult, but together they interrupt the work that actually needs your attention. The answer is usually a clearer production system before it is more software.
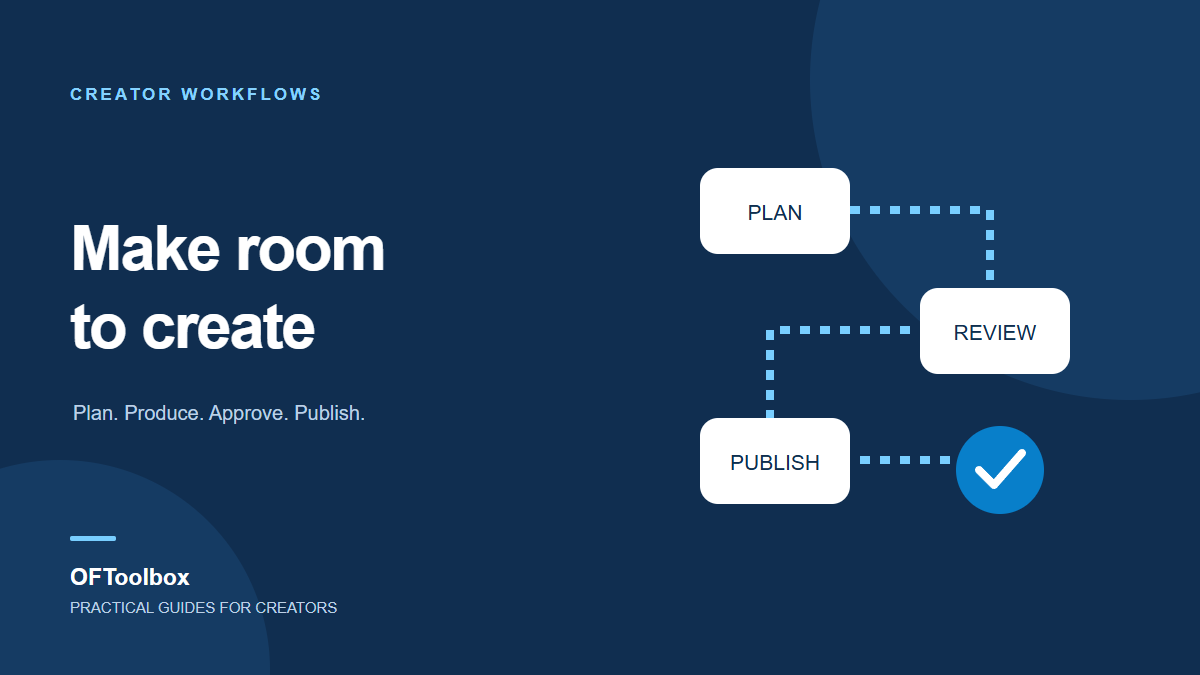
For an OnlyFans creator or agency, a reliable workflow connects planning, production, review, publication, and learning. Every item should have a recognizable state and a person responsible for moving it forward. Once those basics work manually, automation can help with routine transfers and reminders without making important publication decisions on your behalf.
This guide focuses on organizing your own authorized assets and business processes. It does not assume that a general automation platform has a native OnlyFans integration. Explore the automation directory and social scheduling tools as options for supported parts of your workflow, then verify each proposed connection before building around it.
Start with a visible production board
Your production board can be a spreadsheet, a project management app, or another tool you already understand. Create a row or card for each deliverable and give it a unique identifier. Include the intended channel, owner, status, target date, approved asset location, and caption location. Keep the structure small enough that you will actually maintain it.
Use statuses with concrete meanings. “Idea,” “In production,” “Needs review,” “Approved,” “Scheduled,” and “Published” are useful when each has an entry condition. For example, an item reaches Approved only when its asset, caption, rights, destination, and channel suitability have been checked. Avoid vague labels such as “Almost there,” which leave the next person guessing.
Separate the planned date from the actual publication date. Plans change, and a delay should not erase the history you need for review. Record a short reason when an item moves significantly. After a month, those reasons will reveal whether you are overbooking production, waiting too long for approvals, or scheduling around unrealistic assumptions.
Build a content map around audience needs
Choose a few repeatable themes instead of inventing an entirely new strategy each week. Public promotional material might introduce your personality, explain your posting routine, or answer a common question about what subscribers can expect. Keep descriptions truthful and suitable for the channel. Clear expectations are more useful than attention generated by a misleading promise.
Map each idea to a purpose. Is it helping someone discover you, understand your offer, decide whether to subscribe, or remain engaged after joining? A balanced plan does not require every item to sell immediately. It should help an interested adult audience understand the creator and make an informed choice about whether the subscription fits them.
Explore the AI tools directory if you need help drafting ideas or organizing prompts, but adapt suggestions to the creator’s actual voice. Templates are starting points. A calendar filled with interchangeable captions can make a distinctive creator feel generic, even if every item is published on time.
Batch by task, not by unrealistic volume
Batching means grouping similar work to reduce switching. Plan several concepts in one session, prepare the necessary equipment together, and edit related assets in a focused block. It does not mean forcing a month of production into one exhausting day. The useful batch size is the one that preserves quality and leaves room for revision.
Before a production session, prepare a short shot list and identify which outputs are needed. A single concept might require a landscape cover, a vertical promotional crop, a thumbnail, and an accessible text description. Knowing that beforehand prevents avoidable reshoots and helps an editor understand which version belongs on which channel.
Leave capacity for unexpected events. A plan that uses every available hour fails as soon as an appointment runs late or a file needs repair. Schedule fewer deliverables than your theoretical maximum and keep a small reserve of approved material. Reliability is a better objective than a calendar that looks impressive but repeatedly slips.
Give files names that survive collaboration
A good filename should help someone identify the asset without opening it. Combine an internal creator code, project identifier, date, format, and version where useful. For example, studioA-autumn07-vertical-v03 is more informative than final-final-new. Avoid embedding subscriber names, private contact details, or sensitive personal information in filenames that may be widely shared.
Create separate locations for source material, working edits, approved exports, and published references. Give editors access to the material they need rather than the entire archive. Decide who can replace an approved file, and require a new version when a meaningful edit occurs. Quietly overwriting a file can create confusion about what was actually reviewed.
Keep a lightweight asset register. Record the file identifier, intended use, approval status, and any relevant rights or consent restrictions. You do not need to turn every creative session into a paperwork exercise, but the person scheduling an asset should be able to confirm that the selected version is authorized for that use.
Make approval a real step
An approval stage should answer specific questions. Is this the correct creator and account? Is the crop suitable? Does the caption accurately describe the destination? Are there accidental personal details in the image or text? Does the material fit the channel’s current rules? A checklist makes those questions easier to apply consistently.
Choose who can approve different types of work. A contractor may check image dimensions while the creator approves brand voice and publication. High-impact changes, such as a new offer or an unfamiliar destination link, deserve explicit review. Do not let an automation infer approval merely because a file appeared in a folder named “Ready.”
Record the approved version and time. If a caption changes afterward, return it to review when the change affects meaning, promises, pricing, or destination. This protects the quality of the process without requiring a second approval for every corrected comma. The important distinction is whether the audience would receive materially different information.
Automate the administrative edges first
The easiest starting automations move information between tools you already use. An approved project could create a reminder, add a row to a reporting sheet, or notify the editor that an export is needed. These actions reduce coordination work while leaving publication under a person’s control.
Make is an affiliate-linked option in our directory for evaluating this kind of general workflow automation. Its official webhook documentation explains how supported external events can trigger scenarios over HTTPS. That capability does not establish that any particular subscription platform exposes the event you want.
Before designing an integration, confirm that both ends support the required operation. Use documented connectors, authorized APIs, or deliberate manual inputs. If your desired event is unavailable, a human approval form can be a better bridge than an unreliable workaround. The workflow should remain understandable when a provider changes its interface or connection permissions.
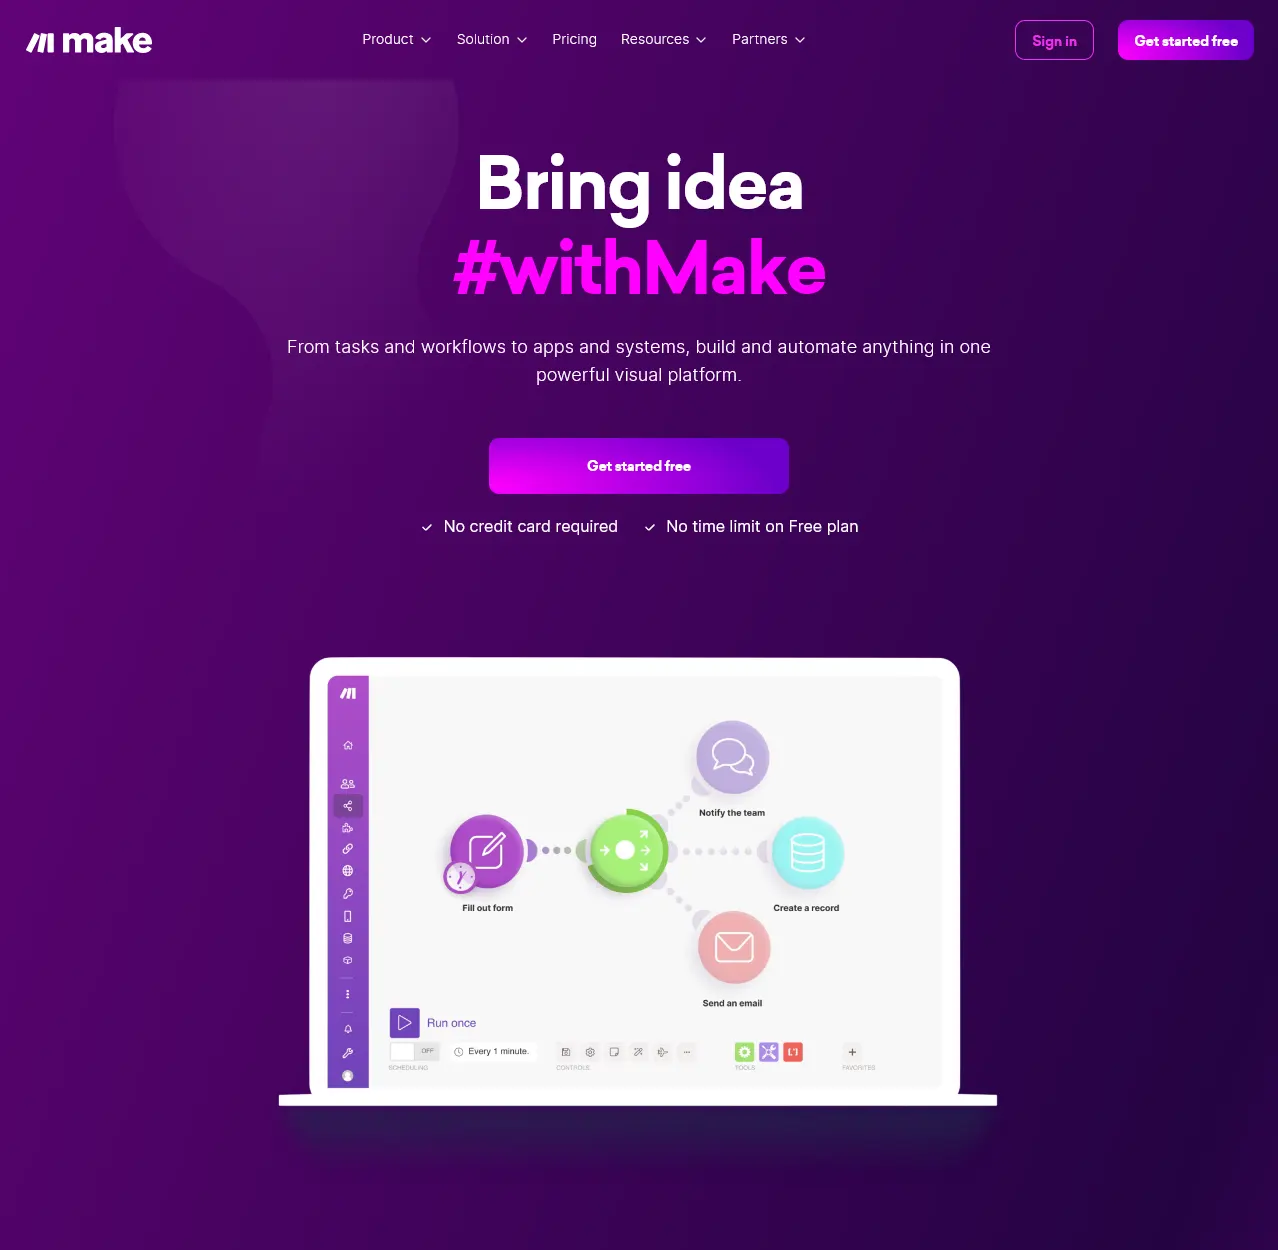
Existing directory image for context. Check the provider’s current documentation for supported integrations and interface details.
Design your first automation on paper
Write four lines before opening a workflow builder: trigger, conditions, action, and failure response. For example, the trigger might be an approval form submission. Conditions check that the item identifier exists and the destination is allowed. The action creates an editing task. Failure sends a notification to the workflow owner rather than silently dropping the request.
Specify which fields move between systems. A task identifier, deadline, and approved folder link may be sufficient. Do not copy an entire conversation history merely because the connector makes it easy. Smaller data flows are easier to troubleshoot, explain, and remove when the integration is no longer needed.
Test with harmless sample records. Confirm the happy path, a missing field, a duplicate event, and a revoked connection. Keep a short record of expected outcomes. An automation is ready when you understand how it behaves during ordinary failures, not simply when it succeeds once in a demonstration.
Prevent duplicates and invisible failures
A repeated event should not create the same task five times. Use a stable identifier and record whether an action has already been completed. Before retrying a failed operation, check whether the destination received the original request. A timeout can mean that the response was lost after the action succeeded, so blindly repeating it can cause duplication.
Define what should happen when a dependency is unavailable. For a routine reminder, waiting and retrying may be acceptable. For a publication decision, pause and ask a person to inspect the item. Your failure policy should reflect the consequence of an incorrect action, rather than use the same retry behavior everywhere.
Make failures visible to an owner who can respond. A notification should identify the affected item, explain what did not happen, and give the next practical step. Avoid sending an entire payload containing private information into a broad team channel. A clear task reference usually provides enough context to begin troubleshooting.
Keep scheduling separate from platform permission
A scheduler’s technical ability to upload something does not mean the material is allowed on the destination. Review each channel’s current rules and the service’s acceptable-use terms. If a tool does not support your content category, choose a permitted workflow instead of trying to disguise the material or bypass moderation.
Where scheduling is supported, verify time zones, daylight-saving behavior, account selection, and preview accuracy. Test a small low-risk item before relying on a new connection. Record the published URL or platform identifier after release so the board reflects what actually happened rather than only what was scheduled.
If native posting is the only reliable option, keep it. Automation can still prepare the approved assets, notify the responsible person, and create a publication checklist. Removing a few minutes of copying is useful, but it is not worth introducing an opaque process that nobody can confidently supervise.
Turn published work into a learning routine
Set aside a short weekly review rather than checking every chart throughout the day. Compare planned outputs with published outputs, identify the main sources of delay, and note which concepts produced useful audience responses. Keep the review focused on decisions you can make next week.
Measure the workflow as well as the audience response. Track time spent locating files, items returned for revision, missed approvals, and duplicated tasks. These measures show whether your system is becoming easier to run. A week with fewer administrative mistakes can be a meaningful improvement even when audience results fluctuate.
Record one change to test during the next cycle. Perhaps your caption brief needs a clearer destination, or your editor needs approved export dimensions earlier. Change one recurring source of friction at a time. A stable process with small improvements is easier to sustain than rebuilding the entire board whenever a week feels difficult.
A four-week implementation plan
In the first week, map the process and use the board manually. Let the real work reveal missing fields and ambiguous statuses. In the second week, establish file naming and approval rules. Check that another person can identify the current approved version without asking the original editor.
During the third week, introduce one administrative automation and test its failure paths. Keep publication manual while you confirm that identifiers and notifications behave as expected. In the fourth week, compare the routine with your starting point and decide whether a second automation would solve a repeated problem.
Resist the urge to automate every transition immediately. Some handoffs happen too rarely to justify maintenance, and some decisions benefit from deliberate human attention. The best workflow is the smallest one that reliably supports your output, respects permissions, and makes the next action obvious to the people responsible.
Document the routine for your future self
Write a brief operating note once the process is stable. Explain where a new idea begins, who approves it, where approved exports live, and how a failed handoff is handled. Include one completed example. Someone returning from a break should be able to resume work without reconstructing decisions from old chat messages.
Keep that note beside the board and update it when a meaningful rule changes. Documentation is most useful when it describes the current routine rather than an ideal process nobody follows. If the instructions repeatedly need exceptions, review the workflow itself. A simpler process is often a better fix than a longer explanation of how to work around it.
Build around the work you actually want to do
Your process should create room for creative judgment, rest, and direct audience communication. If maintaining the board becomes a second job, remove fields and steps that do not support a decision. If an automation needs constant repair, simplify its inputs or retire it. Efficiency includes knowing when a system is too elaborate.
For messaging and team coordination, pair this workflow with the CRM selection guide. For the measurement side of promotion, read the link-in-bio tracking guide. Together, those routines help your tools support a clear publishing process rather than compete for your attention.
If you enjoyed this post, please help us by sharing it with others.
Organize creator account security with stronger logins, controlled team access, safer file sharing, recovery planning, and a practical monthly review.
18 Oct 2026 • 11 min read
Create a clearer link-in-bio page, organize campaign links, test the mobile journey, and measure useful outcomes without confusing clicks with subscribers.
12 Oct 2026 • 12 min read

Choose an OnlyFans CRM with a practical checklist for inbox workflows, permissions, reporting, costs, and a controlled migration.
30 Sep 2026 • 12 min read